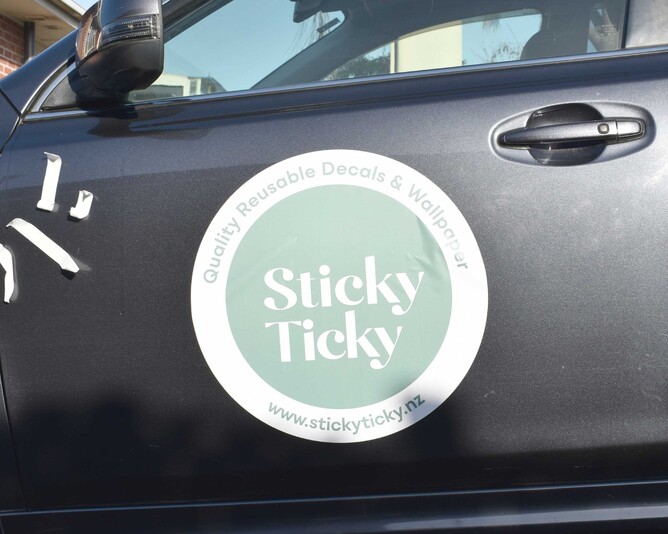
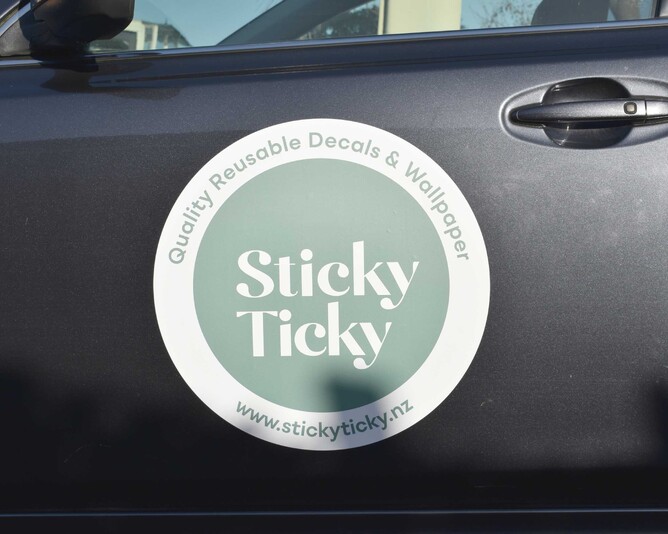
DIY company car decals made easy
It's easy to apply our custom company logo decals to your car. A little preparation goes a long way. Watch the video, and follow the step by step instructions below.
Step 1: Clean your vehicle
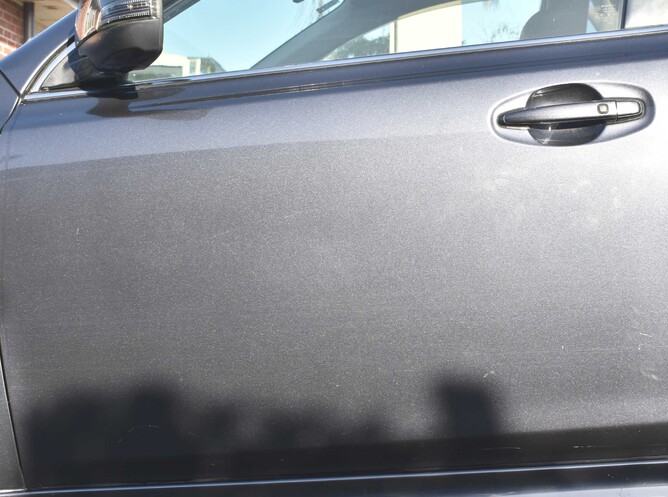
Add some car wash formula to a bucket of water, and clean off all the dirt with a car wash sponge. Once clean, dry off with a soft, lint free cloth.
Alternatively, take it to a car wash. Just make sure it is clean and dry before applying the decal to your vehicle
Step 2: Tape the decal in position
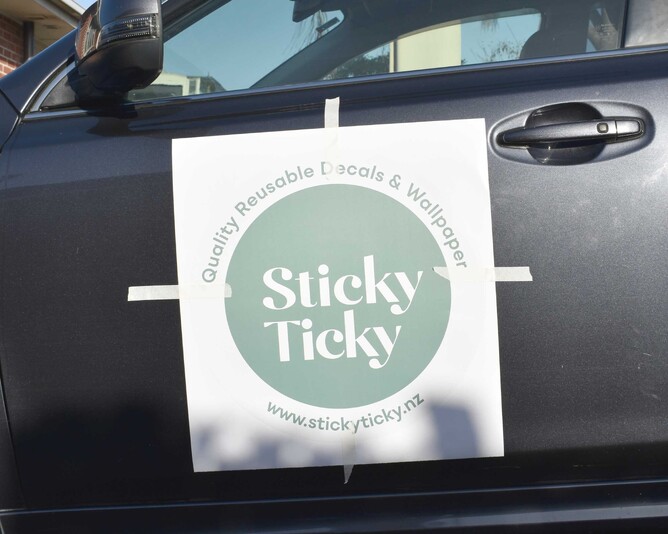
Using masking tape, or other low tack adhesive tape, place on each side of the decal. Position the decal where you want it to go on the car.
Once you have done this, check that the decal is straight, and that is is positioned where you want it to be.
Step 3: Prepare to apply
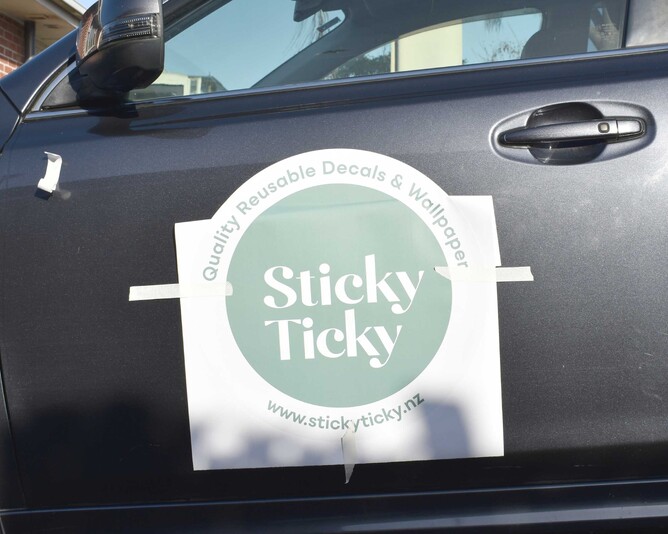
Peel back the top section of the backing paper. Starting at the centre of the decal, use a sweeping motion from centre of decal, and smooth the exposed section onto the car.
Step 4: Remove the backing paper
Slowly peel off backing paper, holding on to the top of the decal, pulling the peeled edge of the backing paper. Smooth as you go.
Step 5: Finishing off
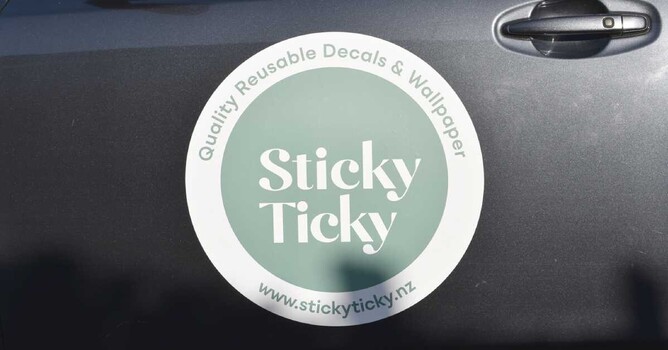
Smooth down firmly with squeegee or credit card, making sure to remove any air pockets. Make sure all edges are firmly smoothed down.
If you'd like to order your own custom decal for your car, pop over here to check out our selection of custom vehicle decals.

